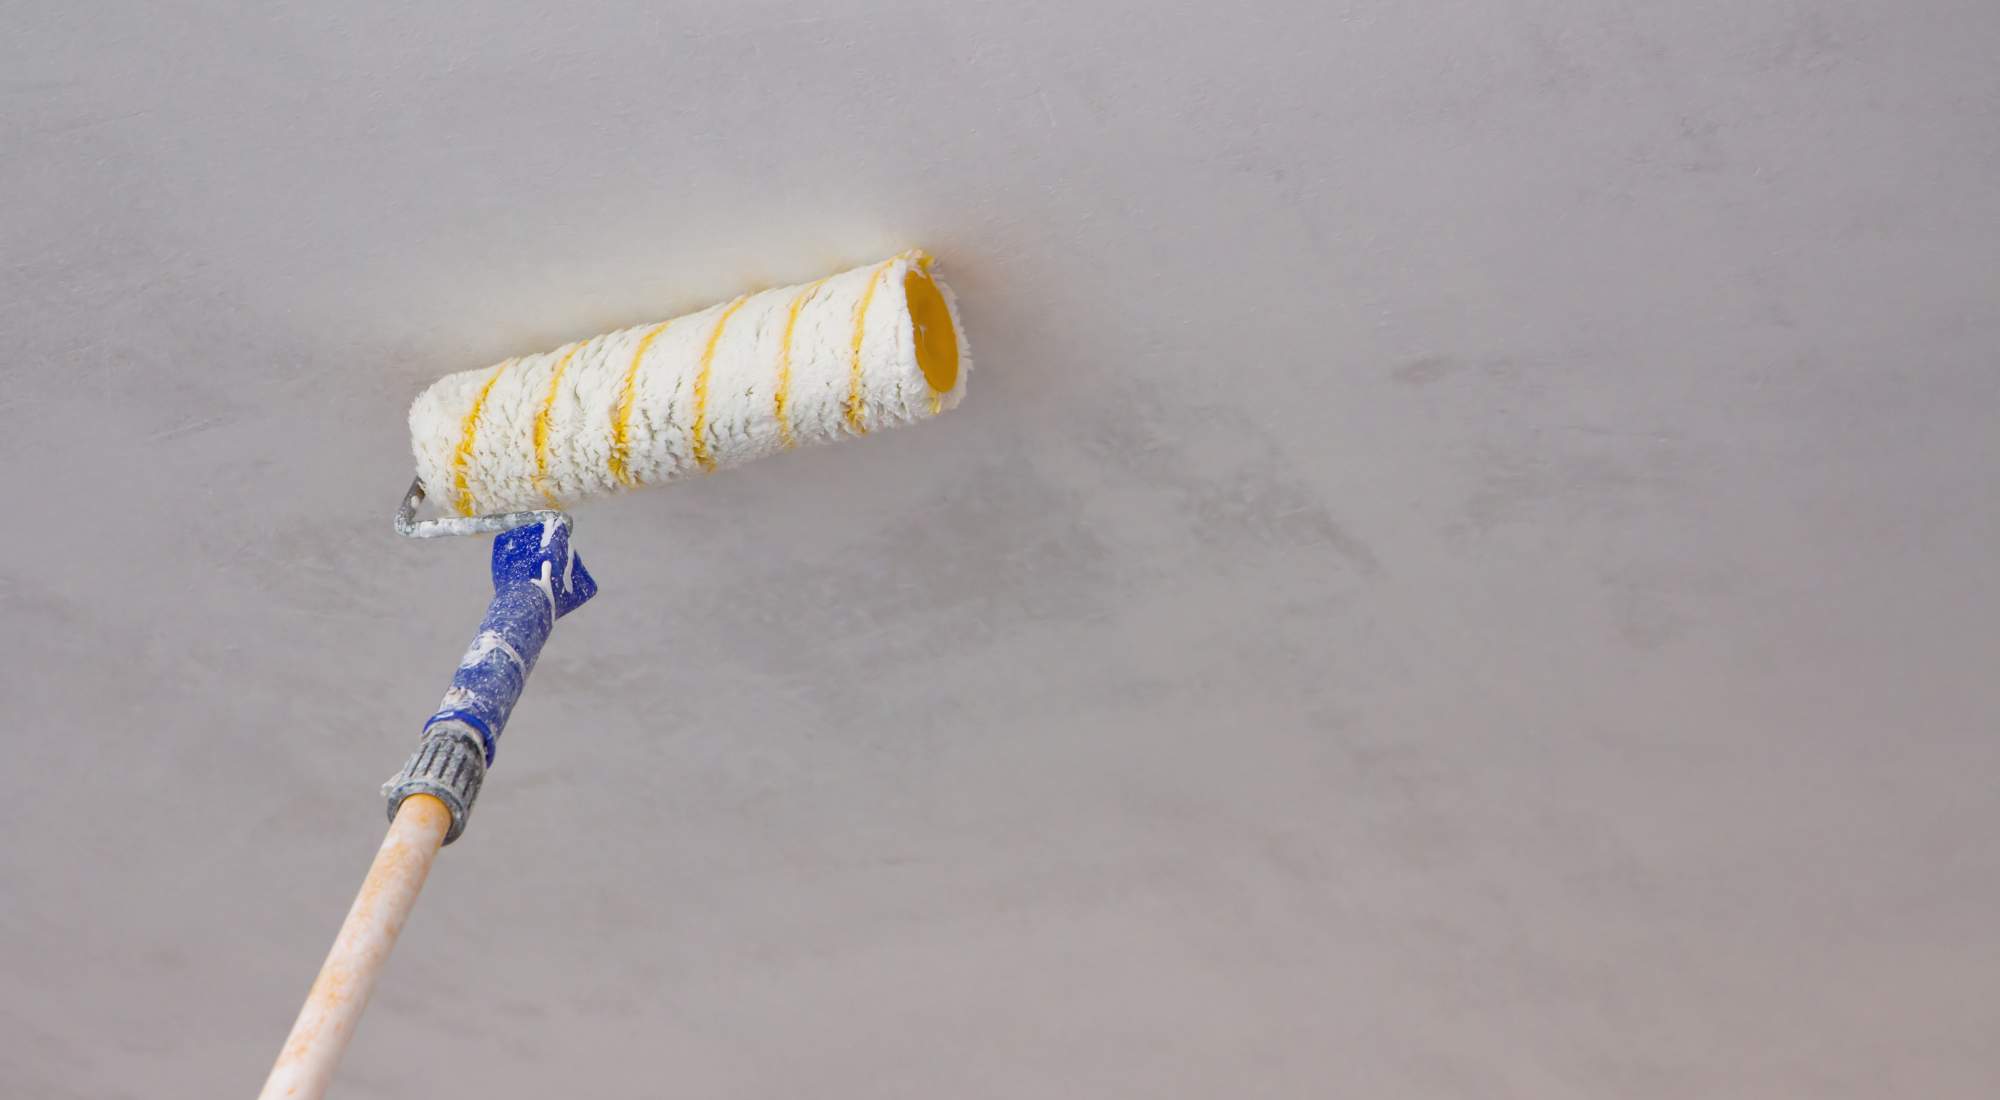
You probably don’t look up at your ceiling much, but maybe lately you’ve noticed that it seems a little drab. A new coat of paint should freshen it right up!
Can you just start slapping on paint? Or should you clean it first? And if so, how do you wash a ceiling before painting?
We’ll give you our expert advice on how to prepare a ceiling for painting and let you know who you should contact if you don’t want to deal with the hassle involved.
Table of Contents
- Do You Need To Clean a Ceiling Before Painting?
- What Happens if You Don’t Clean Before Painting?
- How To Prepare a Ceiling for Painting in 3 Steps
- How To Remove Common Ceiling Stains
- Cleaning a Textured Ceiling Before Painting
- Additional Tips for Cleaning a Ceiling Before Painting
- Let the Experts at Two Brothers Painting Handle All the Prep Work for You
Do You Need To Clean a Ceiling Before Painting?
For many people preparing their homes for interior painting, the ceilings don’t need much cleaning. If there are dust and cobwebs, they should be brushed off with a soft broom or long-handled duster. But often, people don’t need more than that and, in fact, may be fine with just having their ceilings primed and painted with no prior cleaning.
However, if there are stains such as water, smoke, or grease, those should be cleaned before priming and painting.
What Happens if You Don’t Clean Before Painting?
If a ceiling is pretty dirty and isn’t thoroughly cleaned before painting, the paint may stick to the dirt and grime. This isn’t good because it shortens the life of the paint job. Creating a clean, smooth surface will ensure optimum paint adhesion and long-lasting results.
If a ceiling is stained, it’s especially important to clean it before painting. That’s because if stains aren’t removed, they can seep through even primer, making your fresh new paint job seem old and dirty. It’s much better to take a little extra time and remove stains before painting. We’ll discuss specific tips on this later!
If you do clean your ceiling, be sure to give it ample time to dry before priming and painting. If you don’t, there could be moisture trapped under the paint that will cause it to blister and crack.
How To Prepare a Ceiling for Painting in 3 Steps
If you’re interested in cleaning a ceiling before painting, we’ve broken everything down for you here.
But if you want to know the easiest way to clean a ceiling, the answer is — let someone else do it for you! When you hire a professional team from Two Brothers Painting, they’ll take care of everything from cleaning and prep work to expert painting to clean up after, and they’ll make sure everything is done right the first time.
#1: Dust the Ceiling
Dusting is an important first step when cleaning a ceiling before painting because if you omit this action and then wet the surface, you’re just going to smear around the dirt and cobwebs.
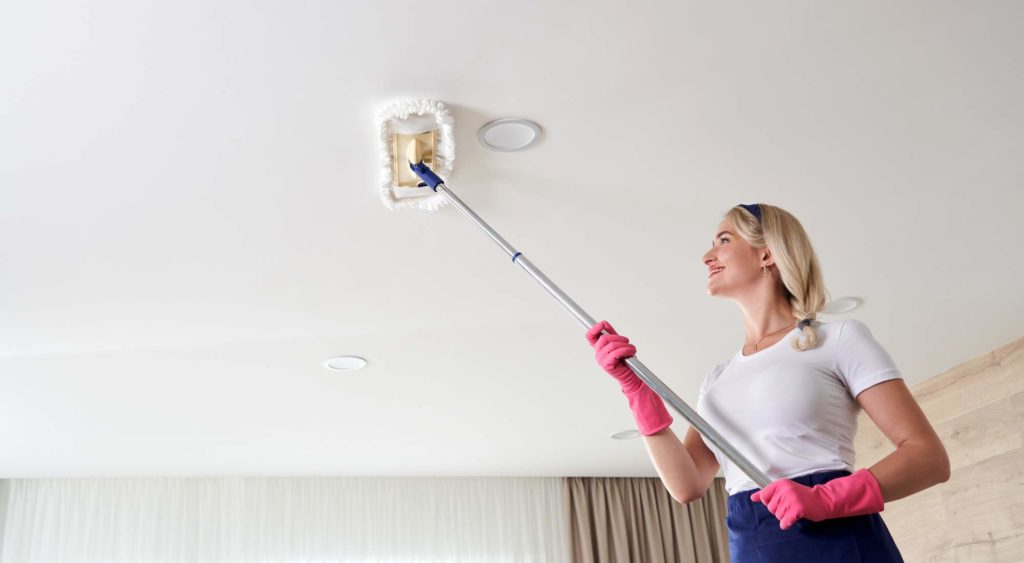
Start at the corners and remove/knock down any cobwebs present. You can use any of the following tools to do this:
- Duster
- Vacuum attachment
- Broom
- Mop with a clean microfiber pad attached
Next, use either a long-handled duster or dry microfiber mop and sweep across the entire ceiling using light, even strokes.
While you’re up there, don’t forget about light fixtures and ceiling fan blades! These won’t be affected by paint, but you might as well clean them at the same time.
#2: Wash the Ceiling
If you have popcorn ceilings, skip this step, as water can cause the texture to crumble and make a big mess. We’ll address how to clean those types of ceilings later.
If you have ceiling tiles or a flat ceiling, you can wash those before painting using a mixture of a mild cleanser (such as dish soap) and water. Dampen a microfiber cloth with this solution — making sure it’s not too wet, as this can leave streaks on the ceiling.
Wipe your ceiling with long, even strokes, and change out your cloth if it gets too dirty. Once you’ve been over the whole thing, check for any spots that may need recleaning, and then allow the surface to dry thoroughly.
#3: Wipe Down the Crown Molding
If there’s crown molding at the top of your walls, go ahead and wipe that as you’re cleaning the ceiling. This will ensure that all surfaces are fresh and clean before priming and painting.
How To Remove Common Ceiling Stains
You can’t just paint over ceiling stains, especially if they’re oil-based. Primer may help, but it’s best to clean stained areas first so you don’t end up having to repeat your work.
Water Stains
Water stains are often found in kitchens or bathrooms, or they may also be in any room where leaks have occurred. They usually look like yellow or brown rings that are darker around the edges and can be difficult to remove.
The best way to clean water stains is with a 1:3 bleach and water solution. Spray the stains and let them air dry, then repeat as necessary.
Be sure to open any windows in the area for ventilation when cleaning stains with this method!
Grease Stains
Grease stains are common in kitchens, especially over the stove area. A great way to blast through grease is using a solution of TSP (trisodium phosphate) and water.
Mix according to package directions (usually a half cup of TSP to two gallons of warm water) and spray or wipe onto the greasy surfaces. Let it sit for a bit and buff with a microfiber cloth or soft-bristled brush, then repeat as necessary and let dry.
Smoke Stains
Smoke stains usually look yellow or gray and are common in areas of the home where people may choose to relax and have a cigarette, such as a den, bedroom, or back porch. To attach these unsightly ceiling marks, spray with a mixture of half water and half distilled white vinegar.
Working in circles, gently blot the area and let it dry completely, then repeat as needed.
Cleaning a Textured Ceiling Before Painting
Cleaning a textured ceiling, such as a popcorn ceiling, is more complicated because you can easily make a big mess of it if you aren’t careful. A light touch is a good idea when cleaning these types of ceilings.
We already told you that wetting a popcorn ceiling isn’t wise. Giving the ceiling a once-over with a vacuum attachment or lint-free cloth/duster is going to be your best bet.
If you’re ready to get rid of your textured or popcorn ceiling, you should have a drywall expert take care of the job so they can properly skim and texture the surface afterward. These types of ceilings never come off clean and smooth. It’s a messy, nasty job and is best left to the pros.
If you’re interested, Two Brothers Painting can make referrals of trusted drywall contractors we’ve worked with in the past. Or if you want to leave your popcorn ceiling as is, you definitely want to hire us to paint it for you. You may have heard that popcorn ceilings can be sprayed, but they really need to be completely primed and backrolled, which is a big undertaking.
Additional Tips for Cleaning a Ceiling Before Painting
Here are more general tips for cleaning your ceiling before you paint:
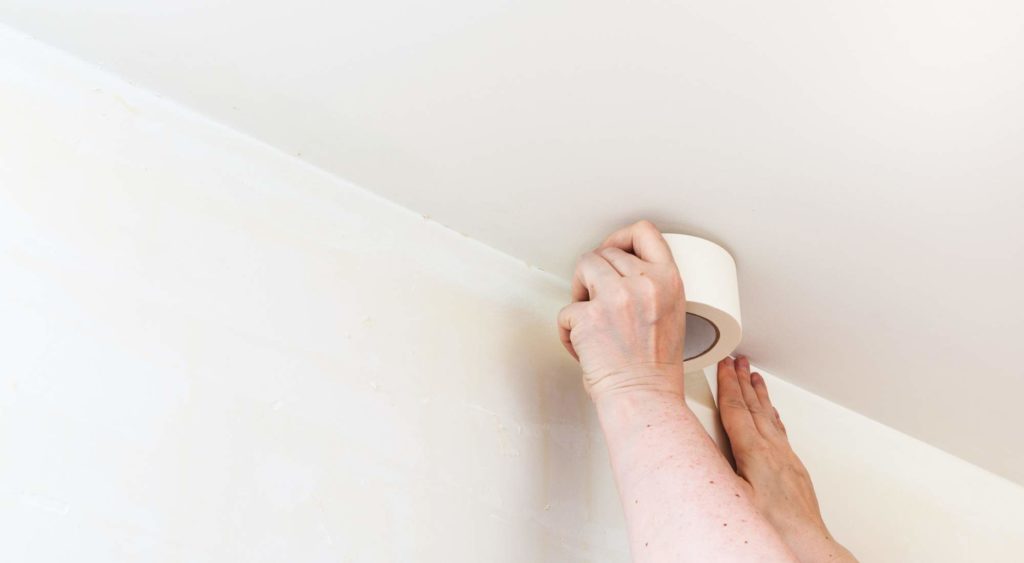
- Tape down a drop cloth before beginning.
- Wear protective clothing so you don’t get messy.
- Use a sturdy stepladder.
- Don’t get your sponge too wet.
- Use a squeegee to remove any excess water from the surface of the ceiling.
- Divide the ceiling into sections and finish working in one area before you move to the next.
We could add tip #7 — hire a painting company so you don’t have to do any of it! Not only is cleaning, priming, and painting a ceiling a big hassle, but if you don’t do it well you’ll be able to see the imperfections in your work and will have put in all that effort for a less-than-stellar result.
With Two Brothers Painting, you don’t have to worry about a thing. We take care of all the steps and the result always looks perfect.
Let the Experts at Two Brothers Painting Handle All the Prep Work for You
Let’s face it, most homeowners don’t want to tackle any aspect of ceiling painting — especially when you can call us at Two Brothers Painting and we’ll make sure all the prep and work is done for you. Plus, we’ll do it correctly the first time!
Our team of experienced painters has been satisfying customers in the Portland Metro area for over 20 years, and we’d love to help you next. Contact us today to schedule an onsite estimate.


