

Is there anything more cozy and relaxing than visiting with family and friends on your outside deck? Enjoying the outdoors, cookouts, brunch, or chatting over a glass of lemonade are wonderful ways to make memories.
Unfortunately, Mother Nature can deter these cozy images by leaving decks unsightly and potentially hazardous. To ensure your deck is in the best shape for years to come, correctly applying stain is essential.
When it comes to staining decks, one of the most common questions is how many coats should be applied.
Keep reading because this article will explain how many coats of stain on a deck are necessary for optimum protection, plus tips for a lasting stain job.
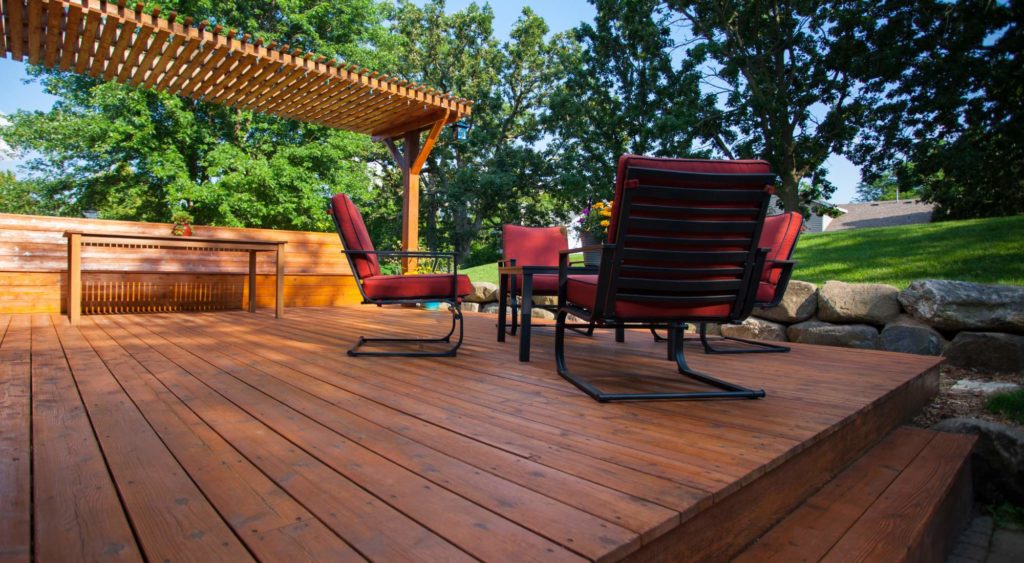
Table of Contents
- How Many Coats of Stain on a Deck Are Needed?
- How Do I Know if My Deck Needs a Second Coat of Stain?
- When To Apply a Second Coat of Stain on a Deck
- Can You Put Too Much Stain on a Deck?
- 6 Top Tips To Know Before Staining Your Deck
- The Pros at Two Brothers Painting Are Top-Ranked PNW Painters and Ready To Help With Any Painting or Staining Needs
How Many Coats of Stain on a Deck Are Needed?
Several factors determine the number of coats of stain needed for a deck, including:
- Wood type and condition
- Desired color intensity; and
- Manufacturer’s instructions
However, two coats of stain are typically applied to a deck for optimal results.
Do you want to avoid tackling this job yourself? Are you overwhelmed when selecting from the wide variety of stains??
Two Brothers Painting can handle all your exterior staining needs.
We will help you choose from various exterior finishes and stain colors that complement your decking furniture or house.
Are you interested in learning more? Contact us and schedule an estimate today.

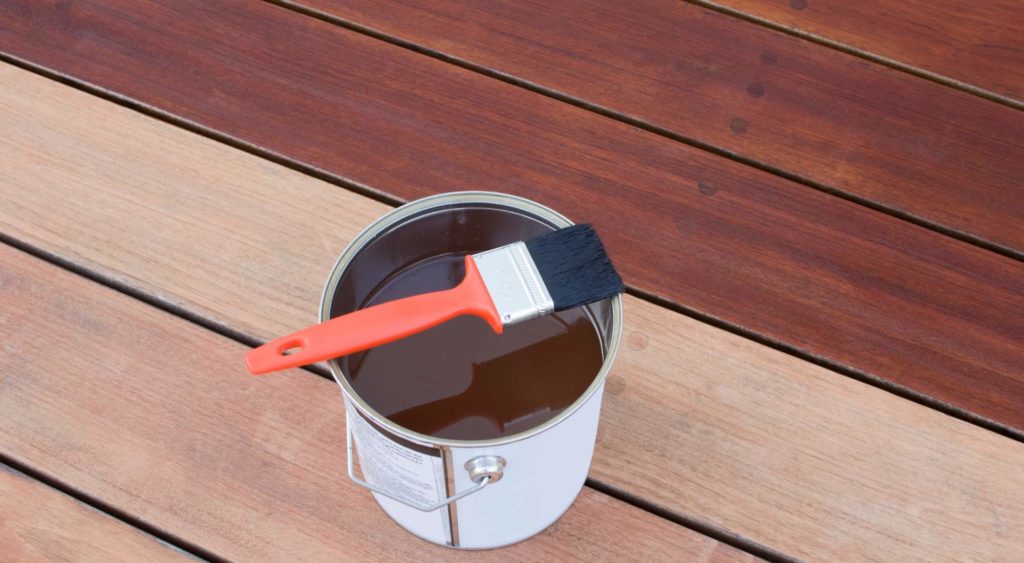
1st Coat of Stain
Follow these steps when applying the first coat of stain to your deck:
- Ensure your work area is well-ventilated if staining an enclosed deck.
- Apply drop cloths or plastic sheets to prevent accidental staining of the surrounding surfaces.
- Make sure the wood surface is clean, dry, and free of dust and debris. Sand the wood using medium-grit sandpaper, if necessary. Using a tack cloth, wipe away any dust.
- For an even distribution of color pigments, stir the stain thoroughly using a stir stick or a paint stirrer.
- Before applying the stain to the entire surface, first test it on a small, inconspicuous area of the deck or a scrap piece of wood. If necessary, you can adjust the application after seeing how the stain interacts with the wood.
- Use a natural bristle brush to apply the stain. The stain should be heavily applied and will puddle and soak in with this first coat.
2nd Coat of Stain
As with the first coat, a brush can be used to apply the second coat. Brush the stain onto the wood following the above technique.
Be mindful of the following when applying the second coat of stain:
- To ensure an even application, avoid drips or excess stain that can result in darker spots.
- Work in smaller sections to ensure even application, rather than simultaneously applying the stain to the entire surface.
- Use a “wet edge” technique to prevent lap marks or uneven drying. Work from one end to the other, overlapping the stain onto the previously stained area.
Once the second coat has been applied, wipe away any excess stain with a clean cloth. By doing this, the stain will not smudge or pool.
How Do I Know if My Deck Needs a Second Coat of Stain?
The goal when applying stain is to have just enough to seal and protect the wood — a second coat should accomplish this.
The following problems can occur if you do not apply enough stain to a deck:
- Inadequate protection
- Reduced durability
- Uneven color and appearance; and
- Decreased lifespan
When To Apply a Second Coat of Stain on a Deck
For solid stains, a second coat of stain should generally be applied when the first coat has dried entirely but has not provided the desired level of color or protection.
For oil-based stains, use the “wet on wet” application technique. No drying time is needed.
When in doubt, follow the manufacturer’s instructions.
Why Apply Stain “Wet On Wet” for Transparent Stains
Applying “wet on wet” for transparent stains refers to applying a second coat before the first coat has thoroughly dried. This method is commonly used with transparent stains to enhance the penetration and color saturation into the wood.
Because the first coat penetrates and breaks the substrate, applying the second coat before the first completely dries enables it to use the first coat to penetrate deeper into the wood grain.
In addition, applying the second coat while the first coat is still wet allows the stain to blend and create a more uniform appearance. It also helps prevent lap marks and ensures better adhesion between the coats.
Can You Put Too Much Stain on a Deck?
Definitely!
Even though more may seem better, staining wood more than necessary will cause problems. If in doubt, stain a wood deck twice and stop there.
If you are overwhelmed with the thought of prepping and staining your deck, let the pros at Two Brothers Painting help.
When it comes to all your staining needs, you can count on our team to deliver exceptional results that exceed your expectations.
For your free estimate, contact us today.
6 Top Tips To Know Before Staining Your Deck
#1: First, Clean Your Deck and Use Stain on a Test Area
Before staining, ensure the deck’s surface is clean and free of leaves and dirt. Your finished project will be affected by any contaminants.
Check for loose nails first; any you find should be hammered back down. If there are peeling or splintered spots, sand them down. In addition, any mold or mildew should be power washed.
If the top layer of your deck is discolored, it should be removed down to the bare wood.
Test the stain on a board or in an unseen corner of the deck before application, since stain works differently from paint in terms of color. While paint covers the entire surface, stains soak into the wood, accentuating its grain and color. As a result, the appearance of a stain can vary depending on the wood and the age of the deck.
#2: Wait at Least 24 Hours After Power Washing or After Any Rain To Stain
The final effect will appear blotchy if it has rained and water remains on the surface before the stain dries. In addition, stain does not absorb well into damp wood, so staining during or immediately after rain limits the wood’s ability to absorb the stain.
Make sure the project is scheduled for a specific day and monitor forecasts until the day of the project. Once the deck has been dry for 24 hours and you have sanded and power-washed the surface, you are ready to begin.
#3: Avoid Using Stain in Direct Sunlight
As a result of direct sunlight, wood experiences a significant increase in temperature.
Staining a hot surface almost always results in disaster, as the stain is cooked by the sun before it has the chance to penetrate deeply into the wood. Direct sunlight can also quickly evaporate stains before they soak thoroughly into the deck.
Try staining in the shade or during cooler hours, such as in the morning.
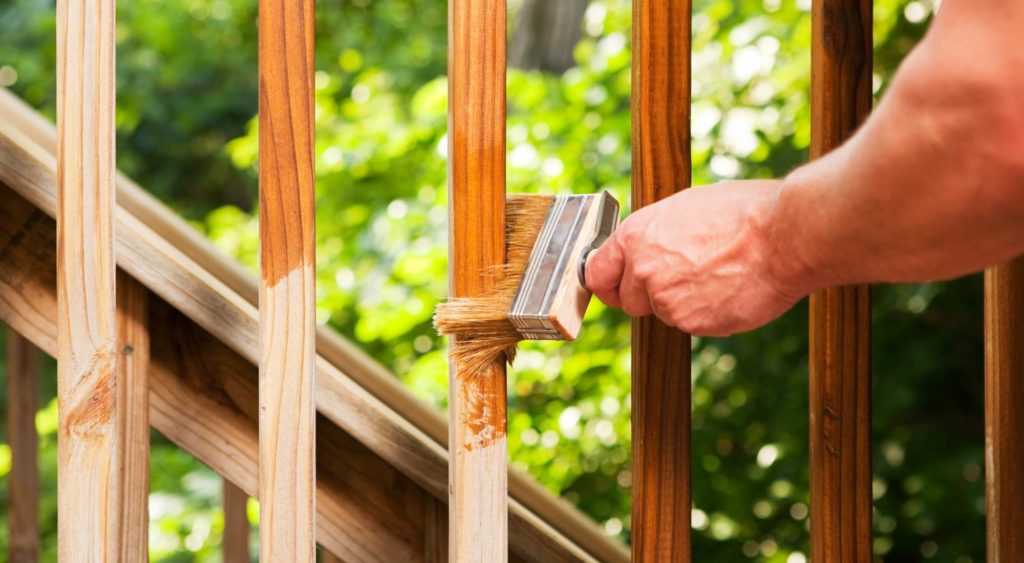
#4: Always Use a Brush To Stain
When staining decks, brushes offer several advantages:
- Better control and precision, ensuring even coverage and application into crevices and tight places
- Able to adjust the amount of stain applied, minimizing waste and over saturation
- Easier to clean and maintain than sprayers or rollers
#5: Block off the Deck and Wait at Least 24 Hours After the Final Coat of Staining
After staining the deck, limit access to it so the stain has time to thoroughly soak into the wood. Twenty-four hours are recommended.
Stains and decks are vulnerable to marks from:
- Pets
- Kids; and
- Friends and family
In addition, blocking off the newly stained deck gives time for any residual odors or fumes from the staining process to dissipate, creating a safe environment for users. It also provides a chance to evaluate the final appearance of the stain and make any necessary touch-ups or adjustments before exposing the deck to regular use.
#6: When in Doubt, Seek Professional Guidance
There are several benefits to hiring a professional to stain your deck.
A professional has the expertise and experience to ensure proper preparation and application of the stain, resulting in a high-quality finish. They can handle potential issues or challenges during the job and select the appropriate stain for your deck’s specific needs.
Professionals also have access to professional-grade tools and equipment, ensuring efficient and precise application.
When you hire a professional to stain your deck, you will save time, effort, and potential errors, resulting in a finish that will last for years to come.
The Pros at Two Brothers Painting Are Top-Ranked PNW Painters and Ready To Help With Any Painting or Staining Needs
Two Brothers Painting stands out due to our:
- Exceptional skills
- Commitment to customer satisfaction; and
- Wealth of experience
We are the go-to choice for painting and staining needs and are an industry leader with years of experience.
We can help you choose the right paint or coating for your project.
To learn more, and to schedule a free estimate, contact us today.