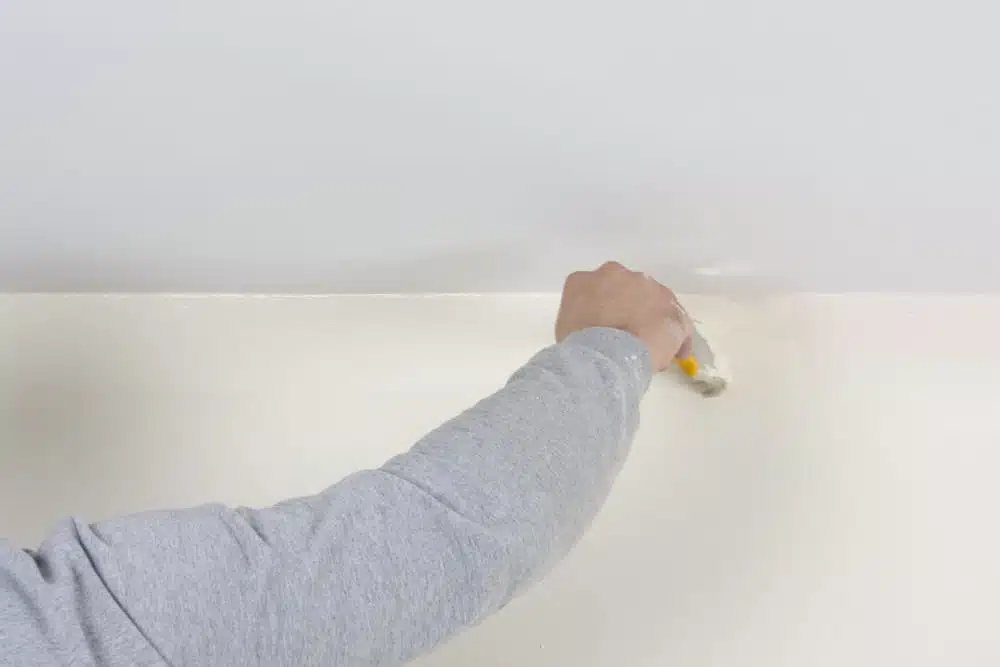
Managing to successfully touch up damage to your paint without needing to repaint the whole wall can feel almost as satisfying as scoring a touchdown. Fixing damage and blending the paint so that it’s nearly invisible, plus saving money and time, that’s definitely worth spiking a football!
Whether you just want to touch up the walls for your own peace of mind or are looking to cover up damage before hosting a crowd for the Big Game, here is what you need to know to make your touch-up experience as smooth as possible.
Smooth Out the Surface
One of the most common problems when touching up paint is that the texture of the new paint is uneven. Bubbling, bumps, and surface irregularities are inevitable unless you clean and repair the area that needs patching up first.
Clean the walls thoroughly before applying any paint. Any dust or debris will not only prevent the paint from sticking properly, but it will also mix with the new layers of paint, causing bubbles and other surface irregularities.
If you notice holes or other damage to your walls, you need to fill them in before painting, otherwise the damage will still be visible through the paint. Use spackling and a putty knife to fill in smaller dents or holes. Larger holes may need a DIY repair kit. Sand over the repaired areas to create a smooth surface for your paint.
Don’t Skip the Primer
Just like a football player can’t skip warm-ups before stepping onto the field, you can’t skip primer before a touch-up, even if you didn’t prime the wall the first time you painted it. Primer helps the paint blend in better with the surrounding areas. It also makes it easier for your paint to stick to the surface.
Be careful when priming the touch-up area and don’t extend the primer too far beyond it. You don’t want to cause yourself more work and give more primer to paint over.
Use the Same Supplies and Techniques
Consistency is key to scoring the perfect touch-up. Try to use the same paint from the original paint job (that is why many painters recommend saving your half-used paint cans). You may need to add some paint thinner to make the paint usable, but paint like this usually lasts for years.
Use the same tools and techniques that you used the first time you painted this patch of wall. If you use a roller, don’t switch to a brush because the different textures will be visible.
Start with a thin layer of paint and add more as needed once it dries. It is better to apply more thin layers than one thick one that will mar the texture of the wall. Feather the edges, or thin out the paint into the area surrounding the patch, to make the transition less jarring.
With the right technique, you can repair damage to your walls with a quick touch-up instead of repainting the whole thing. Your guests will never notice.

