

You just finished painting your walls.
You take a look around, admiring your finished project, and get a sudden feeling of dread.
Are those bubbles? How did that happen?
It’s time to smooth things over and take a minute to figure out what you need to do to restore your walls from bubbly to flat again.
In this article, we peel back the mystery of why paint is bubbling on your walls, the reasons it can happen, and who to call for professional help.
Table of Contents
- 8 Reasons Why Paint Is Bubbling on a Wall
- How Do You Fix Paint Bubbling on Walls?
- Does Bubbling Paint on a Wall Mean Water Damage?
- Why Is Paint Bubbling on a Wall Years After Painting?
- Why Is My Paint Bubbling When I Use a Roller?
- Want To Avoid Paint Bubbles on Walls? Give the Professionals at Two Brothers Painting a Call and Get the Job Done Right!
8 Reasons Why Paint Is Bubbling on a Wall
#1: Dirty Walls
Cleaning your walls is an essential step to ensure they’re ready for primer and paint. Take the time to make sure your walls are free of dirt and debris, so when it comes time to paint, a dirty surface won’t be the cause of bubbling paint.
To effectively clean the walls before painting, use the following steps:
- Dust from top to bottom to remove loose dirt and dust.
- Wash the walls with gentle soap and water.
- Rinse with plain water to ensure no residue is left behind.
- Let the walls dry completely before applying primer.
#2: Lack of Primer
Skipping the primer might seem like a time saver, but you’ll likely end up spending more time on problems the primer would have helped you avoid. Primer acts as a bond between the wall’s surface and the paint.
Benefits of using primer include:
- Preventing bubbles by creating a uniform finish
- Covering existing colors and blemishes
- Helping reveal the true color and sheen of your paint
#3: Excessive Moisture
Paint requires a dry, clean surface to adhere properly. When there is moisture on your walls, it can create adhesion issues, weaken the bond, and cause bubbles or peeling. These blemishes occur when the water trapped under the paint evaporates, creating pressure that pushes the paint away from the wall.
Possible causes of excess moisture are:
- Excessive humidity
- Leaks
- Poor ventilation
- Drainage issues
- Ground moisture moving upward through porous building material
- Inadequate insulation
#4: Extreme Temperatures
Both extremely hot and extremely cold temperatures can cause bubbles on the walls.
Extreme heat may cause the paint to dry unevenly and too quickly, trapping moisture and air under the surface. It may also dry the top coat of paint faster than the layers underneath, creating bubbles from the trapped vapors.
Cold temperatures can cause condensation on the walls due to the cold walls coming in contact with the warmer air circulating through your home.
#5: Using the Wrong Paint
Understanding which paint to use can make the difference between a smooth surface and a bubbly surface. Be sure to use interior paint rather than exterior paint for your indoor walls, as the two are created for different purposes.
The most common types of paint are latex and oil-based. Knowing which paint type you are painting over is crucial. It’s best to choose a new paint that has the same base — latex over latex or oil-based over oil-based.
To test if you have oil-based paint on your walls, follow these steps:
- Find an out-of-the-way spot on your wall that you can test.
- Clean the area with warm, soapy water and then dry it.
- Dip a cotton ball into alcohol.
- Rub the cleaned area.
- Watch the results.
- If the paint rubs off onto the cotton ball, it’s likely latex.
- If the paint is not removed by the cotton ball, it’s likely oil-based.
This test is not always accurate, as some paints may be more resistant than others. If you are still unsure, it’s best to consult a professional or do a paint test on a small, inconspicuous area to be sure no bubbling will occur.
If you want to be sure the correct paint is being used in your space, reach out to professionals, like Two Brothers Painting. They are a top-rated painting service and are experts in choosing and applying the correct paint for your walls.
Reach out today to schedule an estimate.
#6: Incorrect Stirring
Over-stirring your paint can lead to bubbled walls. By stirring too much or too fast, you can trap air bubbles in the paint, which will transfer to the walls when you begin painting. These air pockets will create adhesion issues, causing the paint to lift from the wall and form a bubble.
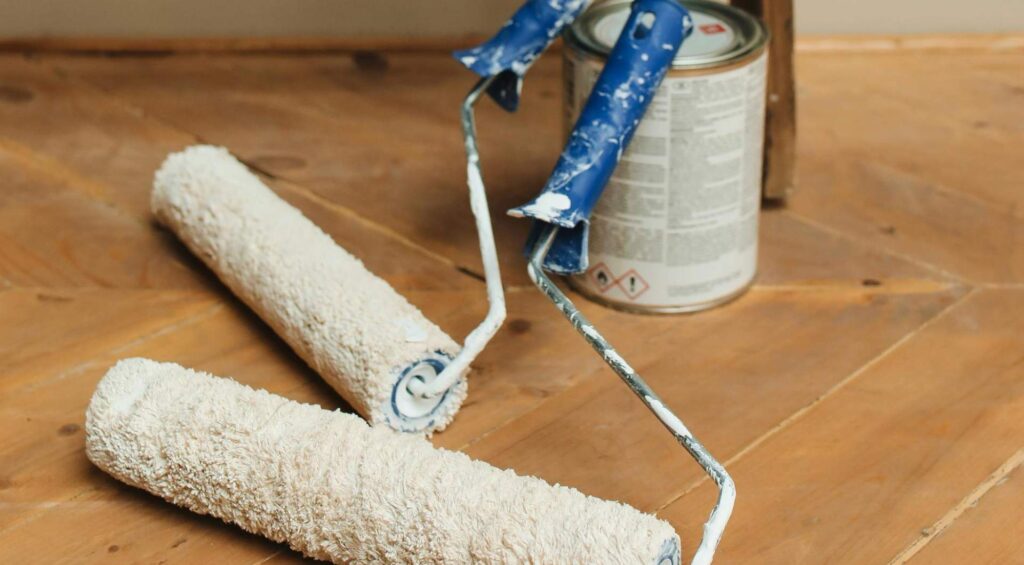
#7: Wrong Roller Cover
Once you’ve determined what kind of surface texture you will be painting, you can find the right nap size for your roller.
Sizes of roller covers and the surfaces they work best on include:
- Thin roller nap (¼” to ⅜”): Ideal for smoother surfaces
- Medium roller nap (½” to ¾”): Best for semi-smooth to rough textures
- Thick roller nap (1” to 1 ¼”): Suited for heavily textured walls, and allows the roller to pick up more paint to push into dips and crevices more effectively
Selecting the right material for your roller is another important decision. Materials vary depending on wall texture, type of paint, and desired finish.
Material options include:
- Microfiber: Known for its versatility, microfiber is considered the best option for most paint types and when you desire a smooth finish.
- Foam: Ideal when you are using a semi to high-gloss paint, foam leaves behind a smooth finish without noticeable brush marks.
- Knit polyester or nylon: Known for being naturally absorbent, these are a great choice for large areas.
- Natural rollers: Lambs wool and mohair are great options for masonry and textured surfaces, and should only be used with oil-based paint.
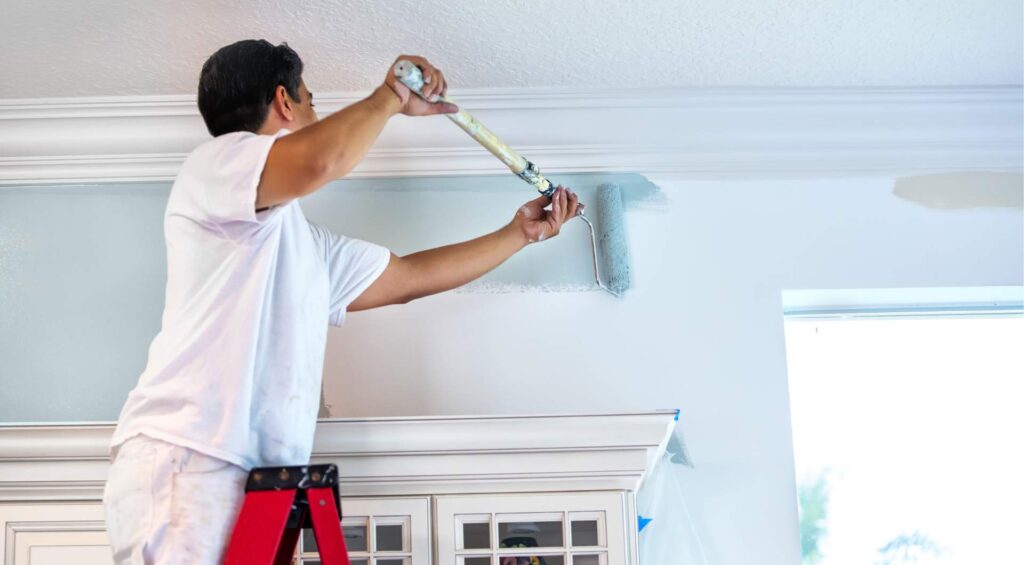
#8: Poor Painting Technique
A few tips for applying paint correctly are:
- Not painting too quickly, as this will cause air to be trapped underneath the paint.
- Avoid applying too thick a coat to ensure even drying.
- Allow the new coat of paint to dry completely before applying a second coat.
To ensure the job is done right, hire a skilled professional to take care of the work from start to finish. Two Brothers Painting guarantees the highest-quality service by prioritizing your project until the job is done to your complete satisfaction.
Give us a call to schedule an on-site estimate today.
Commonly Asked Questions About Paint Bubbling on a Wall
How Do You Fix Paint Bubbling on Walls?
Steps to fix the paint bubbling on your walls include:
- Scrape and sand down to the substrate to remove bubbles and damaged paint.
- If the substrate is bubbling as well, remove the source of the issue.
- Patch the area by sanding and smoothing to prepare for primer and paint.
- Ensure proper ventilation to reduce humidity to allow the paint to dry evenly.
- Prime and repaint.
Does Bubbling Paint on a Wall Mean Water Damage?
It can. If you remove the bubbling paint down to the substrate and find it is damp, a leak may be causing water damage.
It’s best to have professionals determine whether heat, chemicals, or moisture are the culprit so you can ensure the underlying problem can be properly solved.
Why Is Paint Bubbling on a Wall Years After Painting?
You may start noticing bubbles appear under your paint, even though you haven’t painted in years.
Paint on the walls may bubble years later if:
- The paint adhesive has weakened over time.
- Moisture has seeped into the substrate.
- The substrate has an underlying issue, such as a leak.
- The walls were not properly cleaned and prepped for paint.
- The top coat has a different base than the one underneath.
Why Is My Paint Bubbling When I Use a Roller?
Bubbling can occur when you use a roller due to:
- A poorly prepared surface
- A dirty roller
- Poor paint application
- Rolling too fast or with too much pressure
- Too much or too little paint on the roller
Want To Avoid Paint Bubbles on Walls? Give the Professionals at Two Brothers Painting a Call and Get the Job Done Right!
Taking on a painting DIY project may seem like an easy task to tackle until bubbles pop and burst your plans.
Whether you’re in need of a new paint job or the bubbles have stopped your progress, Two Brothers Painting is here to help you get the job done right. We treat your home as though it’s our own, giving your project attention, care, and the highest quality possible.
Our team handles the process from start to finish, so you can enjoy the results without the hassle.
Reach out today to learn more and to schedule a free on-site estimate.